I designed the spider as I did in a computer aided design week, but this week I want to do it in a different way.
So I designed the logo using Illustrator, with the word Spider-Man underneath the logo.

Then I save the logo in pdf format.
After I have prepared the design I will proceed to the next step, using a vinyl cutting machine to do the process of cutting the design boundaries. First I open VERSA Studio and set the design settings based on the work I want to do with the design (which is cutting the design frame, not printing and coloring it), and the pictures below show the settings I set for the cutting process.


After adjusting all the settings, I will click on the Print command to start the cutting process after setting the roll for cutting.
After completing the cutting and emptying the logo to start the casting process, the result was as follows:

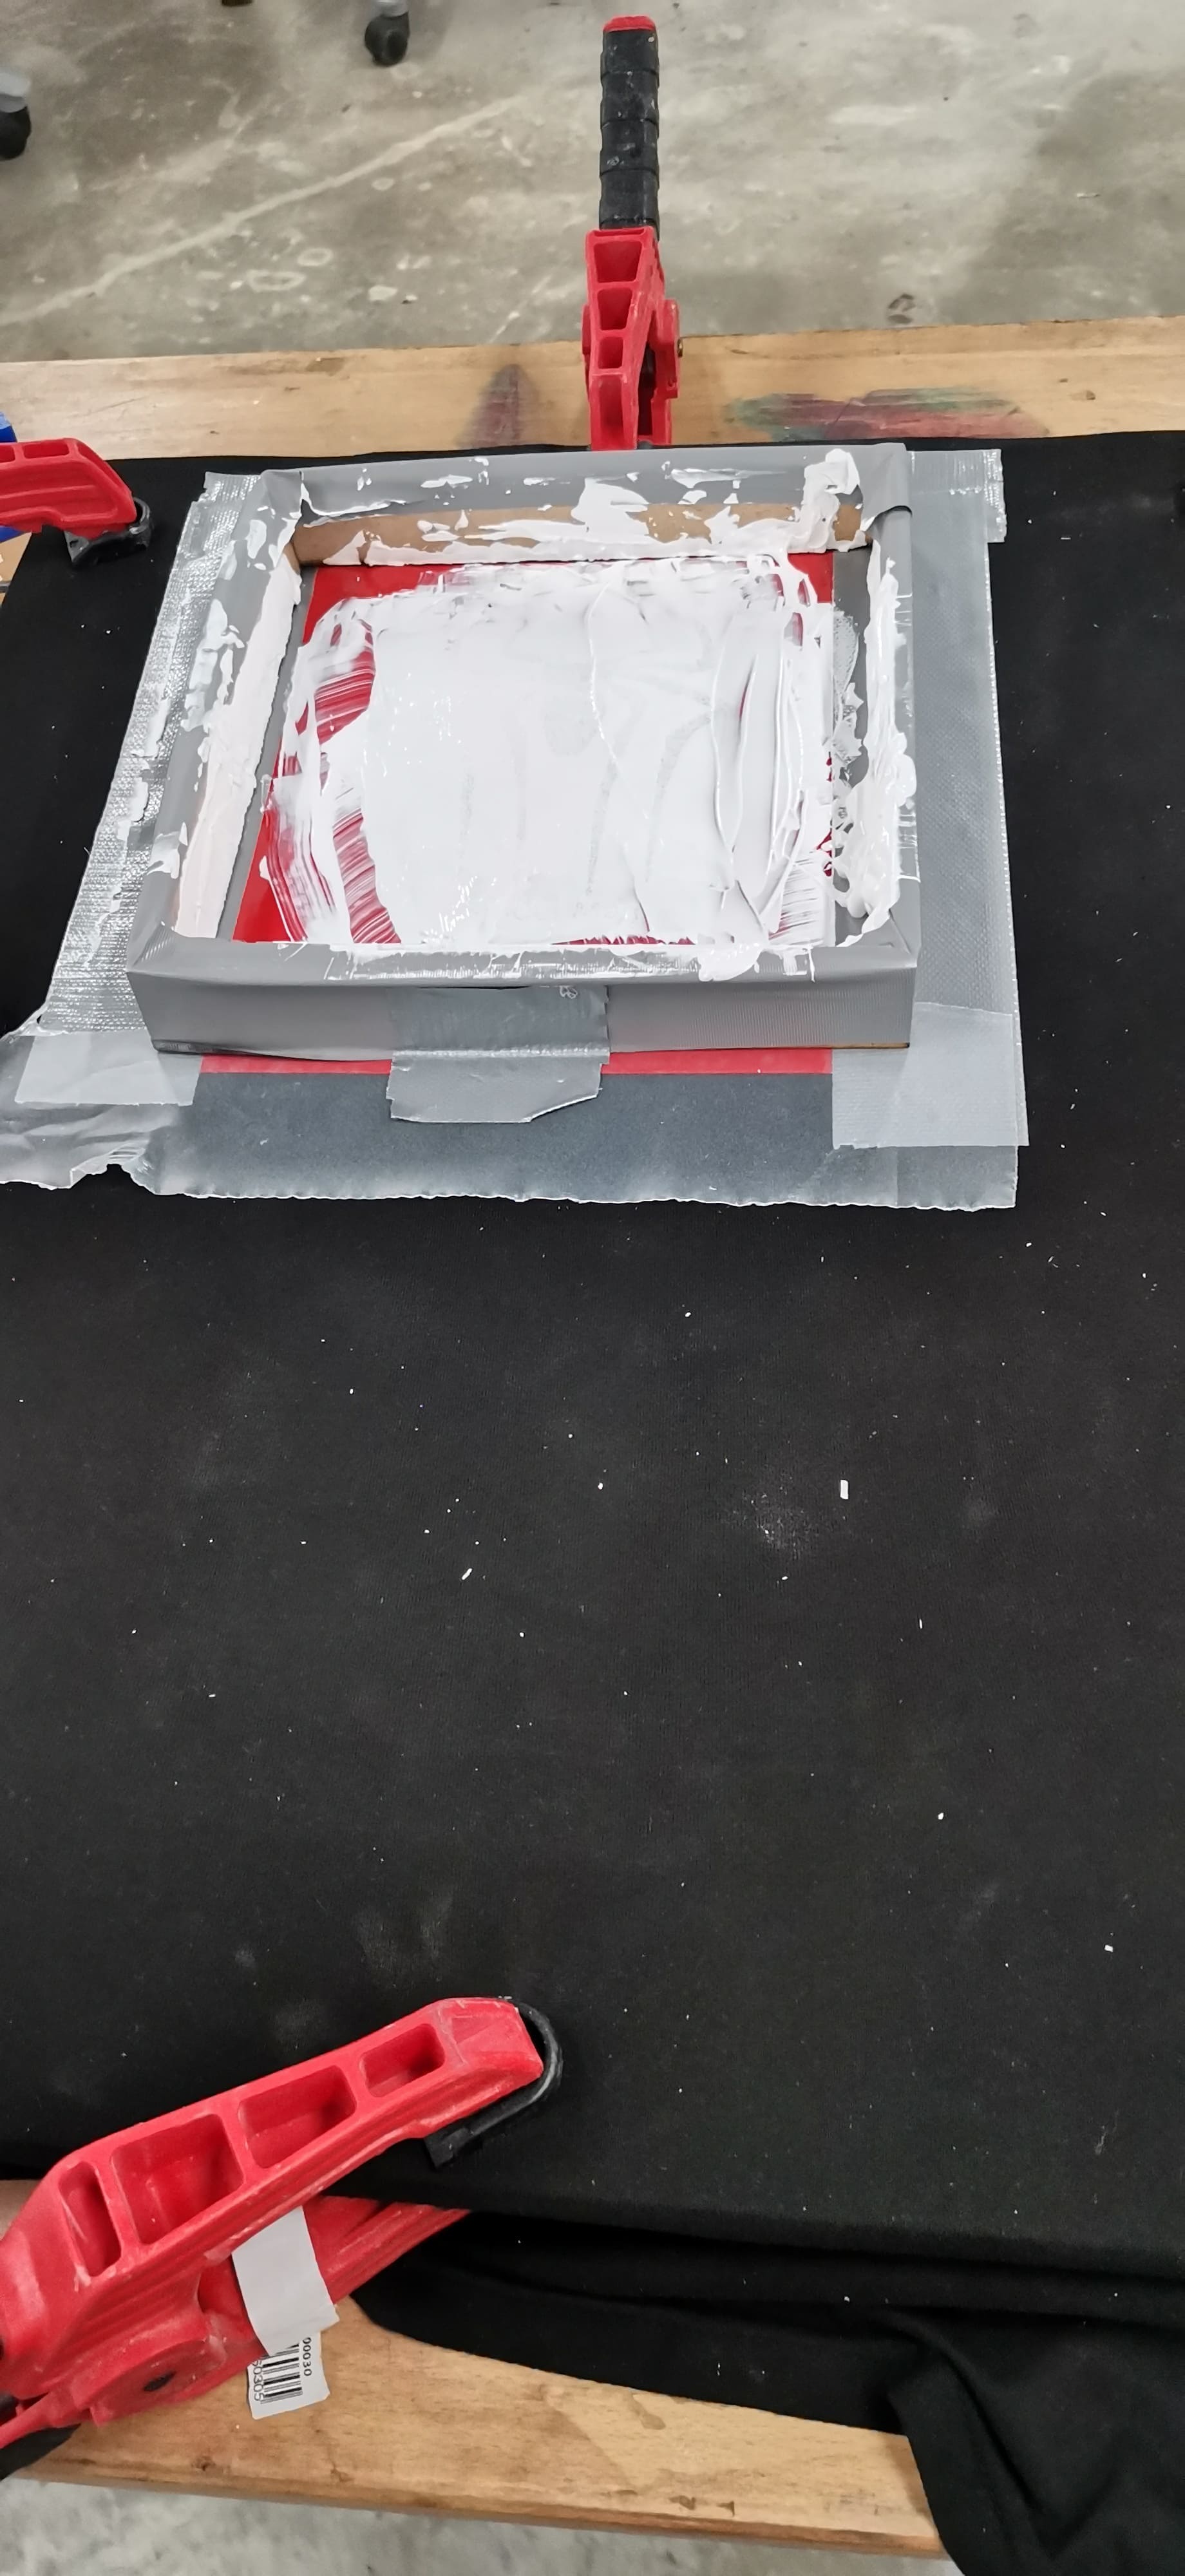
The next step that I will take, I will make a frame for casting so that the material that I will use remains inside the frame so that I do not dirty the shirt on which I will print the material.
I will be using Black Water Based Acrylic Fabric Screen Printing Ink ,for t-shirt printing.

First, you need these tools to begin the process of digital printing on canvas using your design.


I will use the adhesive roller to stick the logo to stick it on the shirt easily, and using a wood sheet I will fix the shirt on it with tongs after putting insulation inside the shirt so that the material does not reach the other side of the shirt.


After that, I paste the logo on the shirt and using the wooden ruler I press the logo on the shirt in order to make sure that the printing process will be completed properly.


I will make a frame out of wood for the diaper adding the shirt from the material. And using the spread piece I will distribute the material over the entire shirt.


This is the design file:
Spider Man a poster
Using Illustrator, I drew Islamic motifs based on an image. After I finished drawing the motifs, I saved the file in (SVG) format.
After that, I opened the Fusion 360 program, and using the program's tools, I inserted the file (SVG) Islamic motifs and it appeared as shown in the image below:

After preparing the design, I will print the design onto the canvas, and in order for it to be ready, I will extrude the design into 3D 3 mm for the printing process.
As shown in the picture below:

After preparing the design using the Fusion 360 program and saving the design in (STL) format, I will proceed to the next step.
The next step is to prepare the file by using the Ultimaker Cura program, after adjusting the settings and converting the 3D Gcode design so that the file is ready for printing.

I'll be using an Ultimaker 2+.
First, I will remove the printing base from the machine, then I will bring a piece of cloth and I will cut it according to the size of the printing base, then I will bring tweezers to fix the cloth to the base.


After that I reset the print base to its place to start the printing process.


This is the design file:
STL File
Gcode File